First, you have to create a Product in Woocommerce. Product data should be Simple Product.

After the product created, get the Product ID. On the screenshot image below, the product id is 567.

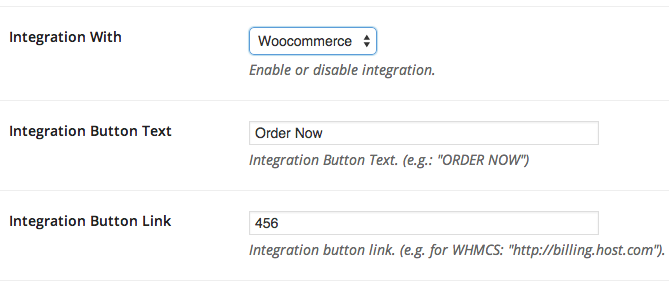
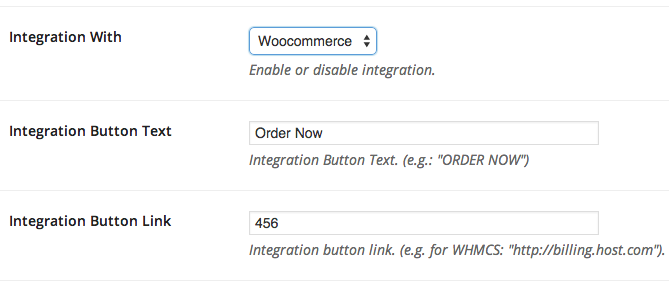
Then go to WP Domain Checker settings. On Integration With section, select Woocommerce.
And then, Enter the button text. eg: “Order” or “Purchase Now”
Also, input your product id on integration button link field.

A button will appear when domain is available, and if user click the button, user will redirect to cart.
Domain will be automatically added to cart.
Domain in Cart
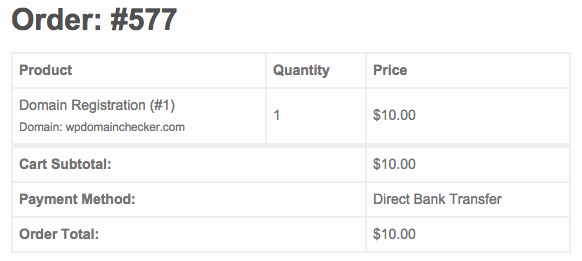
Domain in Checkout Detail
Domain in Customer Receipt Email
You can use item_id parameter on the shortcode to override product id in the settings, this will be usefull if you have multiple domain checker with different product ID.
e.g: Checker for product ID 123 [wpdomainchecker item_id="123" ]
e.g: Checker for product ID 456 [wpdomainchecker item_id="456" ]
If you not include item_id parameter in the shortcode, default product ID in the settings will be used.
If you have multiple domain checker form and use item_id parameter in the shortcode and the product ID different with you defined in settings, make sure you enable WDC option in the product editor, check screenshot below:

* Don’t forget to enable Redirect to the cart page after successful addition in your woocommerce settings.
Custom Pricing for WooCommerce
Since v2.6, you can set custom pricing for each TLD, if you don’t set the price for the TLD, the default product price is used.
you can set the price from wp domain checker settings, scroll down and find WooCommerce Custom Price
for example, you want set price for com $11, net $9, org $8, co $4 and info $3.99
just add like this to the box, com|11,net|9,org|8,co|4,info|3.99


